HTML Chapter:02

I am a DevOps and cloud enthusiast looking forward to create a space for myself in this vast tech field of DevOps. I learn everyday and try to become a better developer than I was yesterday. Making use of hashnode to document my journey.
As a continuation of my last article, today we'll dive a bit deeper into HTML and learn more about the various tags and attributes with hands-on examples.
My intention with these small chapter-wise articles is not to overwhelm my friends who want to learn new technology. They can learn in bite-sized articles and can then level up as they see fit in the future.
So, let's begin.
Basic HTML tags:
We can add elements inside the body tag to define the page layout.
HTML element:
Everything from starting to the end tag is an HTML element.

In the above image, the space between the opening and closing boy tags can have either some content or more HTML tags. It totally depends on the scope of the project and what the developer deems suitable.
HTML attributes:
HTML attributes are used to add more information corresponding to an HTML tag.
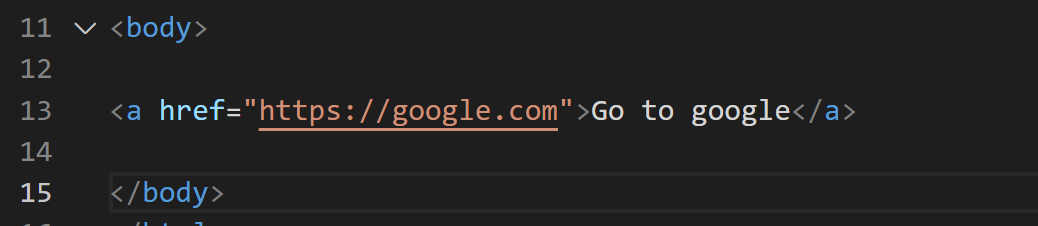
In the above image, <a> is the anchor tag and href its attribute. You can add multiple attributes to a single HTML tag. Additionally, you can either use double or single quotation symbols for attributes.
Heading tag:
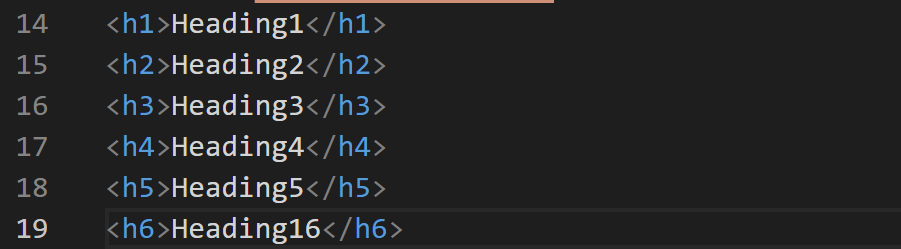
A heading tag is used to mark the headings in HTML. From <h1> to <h6>, we have tags for the most important to the least important headings.
Note: We should not use HTML headings to make the text thick or bold or large. There are other tags to achieve this.
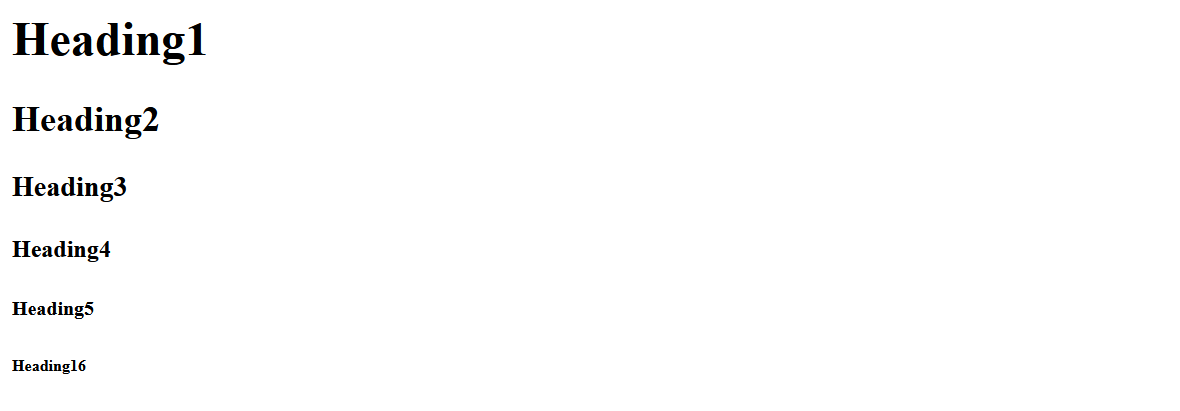
When we move from h1 to h6, not jus the size of the headers reduce, the importance too goes down or declines.
The above code will yield something like this:
We got to be extra careful when we choose the <h> tags.
The search engine crawlers or bots assign importance based on what tag you have used. This is extremely important from the SEO point of view.
So, if you use the <h1> tag, then the web crawler will perceive it to be as an important element of your webpage when compared to other tags like <p>,<h2>, etc.
You should refrain from using the <h> tag to make your text bold or large at all costs. It's not a good programming practice.
Paragraph tag:
A paragraph tag, as the name suggests, is used to add a paragraph to your HTML page.
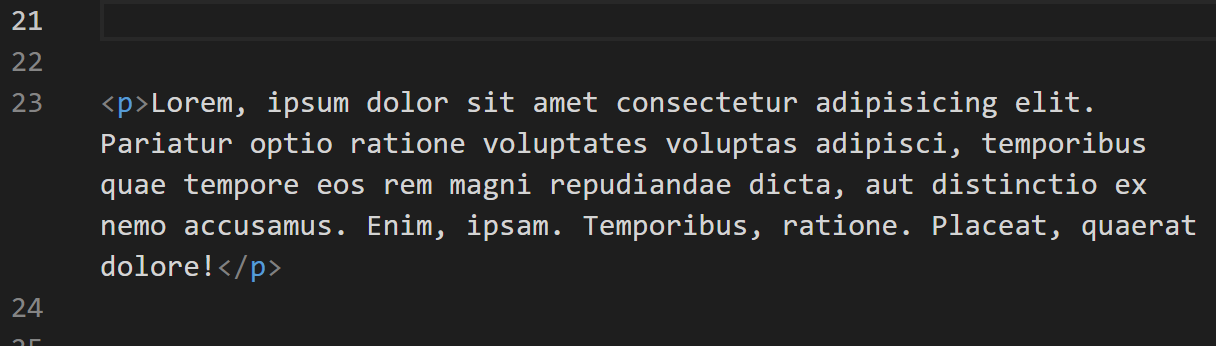
VS Code tip: As you can see in the above image, I have used the 'lorem' followed by the number of words I want in my paragraph. So, it auto-generates the words for me without writing them on my own. Also, if you want to adjust the width of your text to the width of your screen, you can turn on the "word wrap" feature in the settings of Visual studio code. So that you don't have to use the horizontal scroll bar to navigate through your text.
Anchor tag:
An anchor tag is used to add links to the HTML page.

You can add either an absolute link or a relative link. In my case, I have used an absolute link to Google's home page.
An absolute link is a full path to another webpage on the internet. Whereas, a relative link is redirecting to a webpage on the same server as your website.
The difference is, an absolute link can be accessed only if the page to which you're providing a relative link is on the same server as your website.
Image tag:
As the name suggests, you can add images to your HTML page using the image tag. Same as we saw for anchor tag, for an image tag too, we can provide either an absolute path or a relative one.

In my case, I have made use of a relative path.
Bold, italic, and underline tags:
There's nothing that has to be discussed here. It's quite straightforward. These tags make a piece of text bold, italic, and provide an underline respectively.

I have just enclosed the tags with some random text. You can add anything whatsoever.
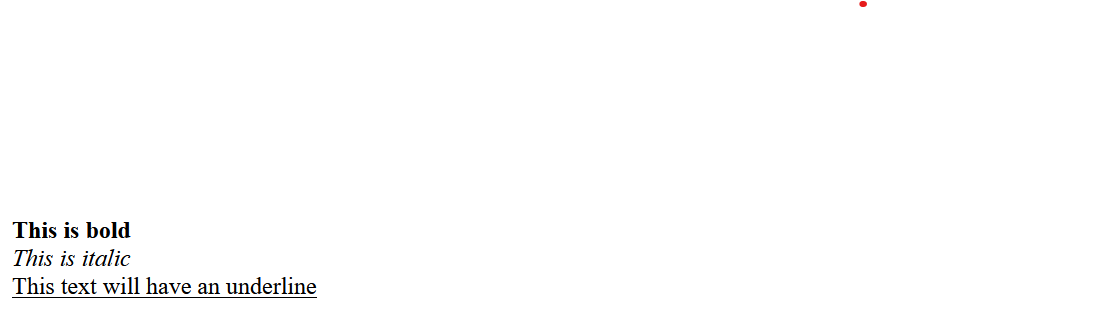
This is how the output will look on the browser.
Big and small tags:
We can make a piece of text either big or small using the big and small tags respectively.
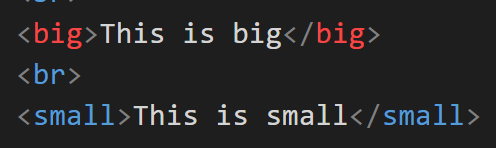
One thing to note here is, in HTML, we use the <br> tag to go to the next line, this is called the line break tag.

This is how the output will look on the browser.
Horizontal tag:
<hr> tag is used to create a horizontal ruler or a line often used to separate the various tags on the HTML page.
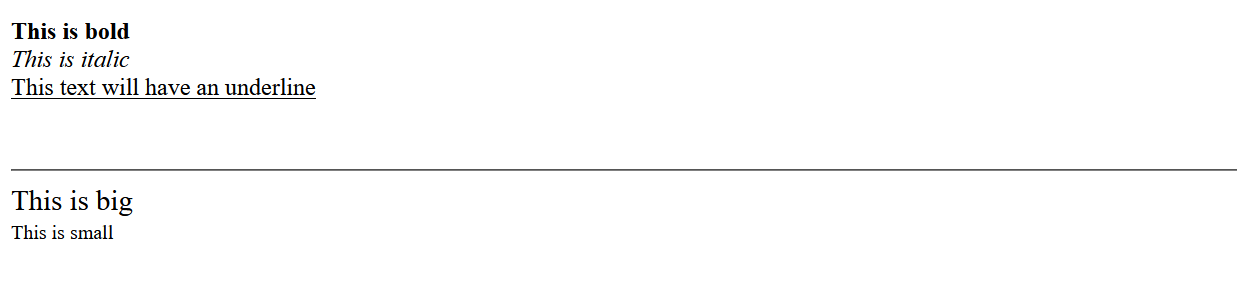
Notice the line that separates the content of your HTML page.
Subscript and Superscript tags:
We can add the subscript and superscript in HTML as follows:
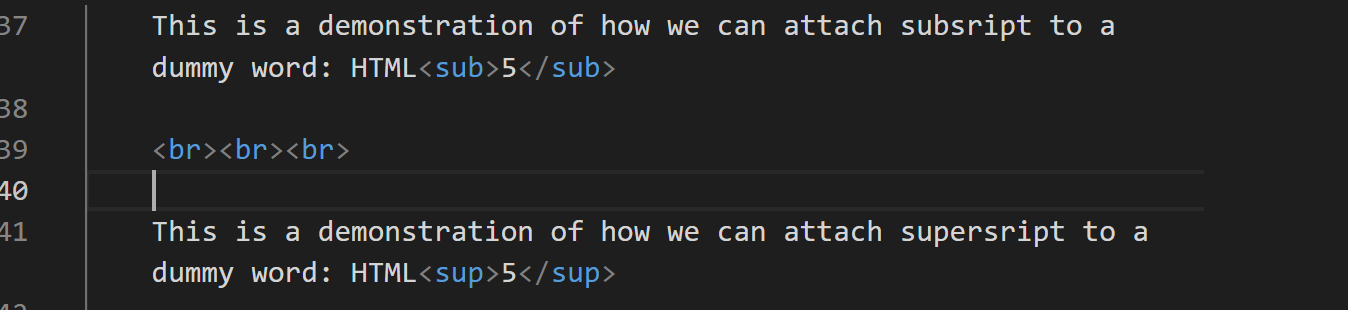

Notice the number 5 being added as a subscript and superscript respectively to HTML in the above image.
Pre tag:
HTML always ignores the extra spaces and newlines. We have to explicitly use the appropriate tags to achieve the same.
But, in order to display a piece of text as it is, we make use of the <pre> tag.
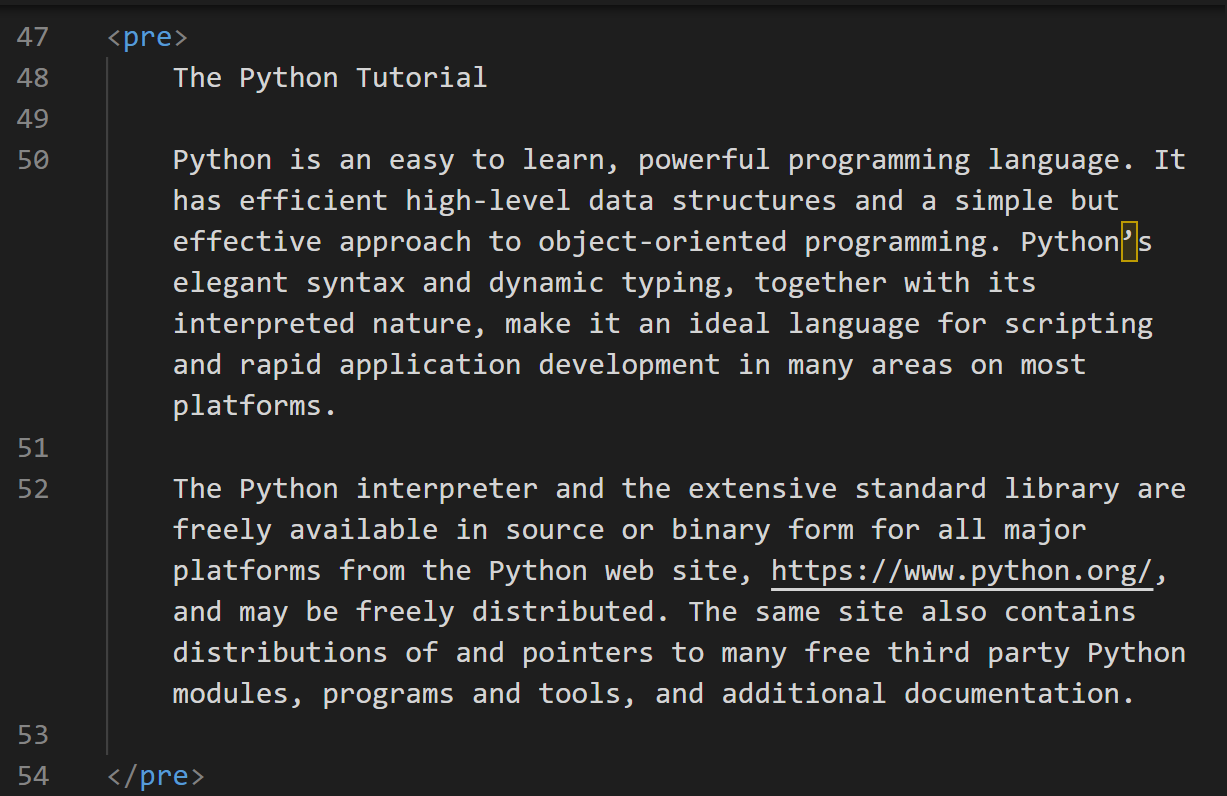
In the above pic, I just randomly selected some python documentation and pasted it inside my pre-tag.

And, this is how we got the output on the browser. it rendered it as it is since it was inside the pre-tag.
That's it for this article. See you tomorrow with chapter 3 on HTML.


